
Warning – Install on solid wood or metal. Not designed to be installed on soft RV siding. We highly recommend installing it on the frame or bumper.
Warning – Do not tighten self-tapping screws with power tools. Use a hand tool for tightening. You can over-tighten, preventing a secure installation.
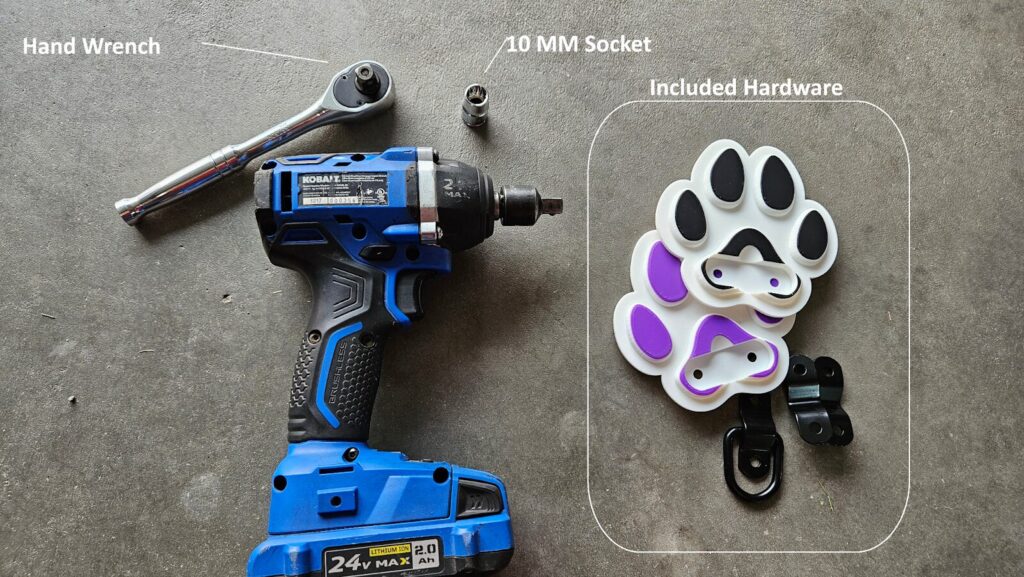
Tools Required
10mm Socket
Drill
Hand Ratchet or Wrench
Step 1 – prep area
Identify where the paw print will be installed. Ensure nothing behind the area will get pierced or damaged.
Recommendation: Install on the frame or bumper. Installing on wood or soft material will limit the weight capacity of the Paw Print Pet Hook.

Step 2 – install the first self-tapping screw
With 1 bolt/screw placed into the paw print, start to make your first attachment.
The included metal screws are self-tapping.
Note: Do not tighten the first screw using a drill. Use hand/tools only.

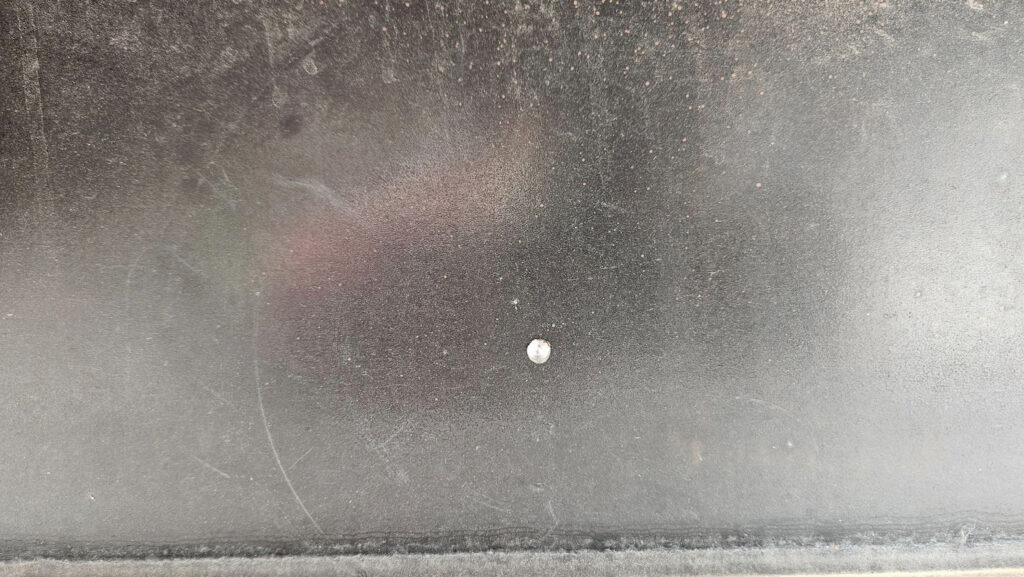
Begin to drill. The self-tapping screws require pressure to start.

Example: Started hole with self-tapping screws
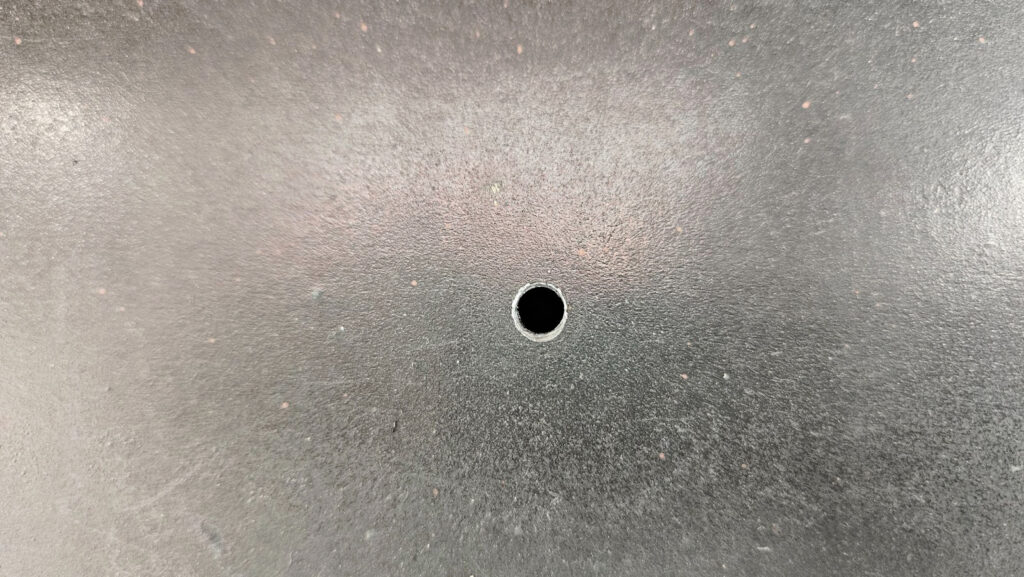
Example hole drilled with self-tapping screws
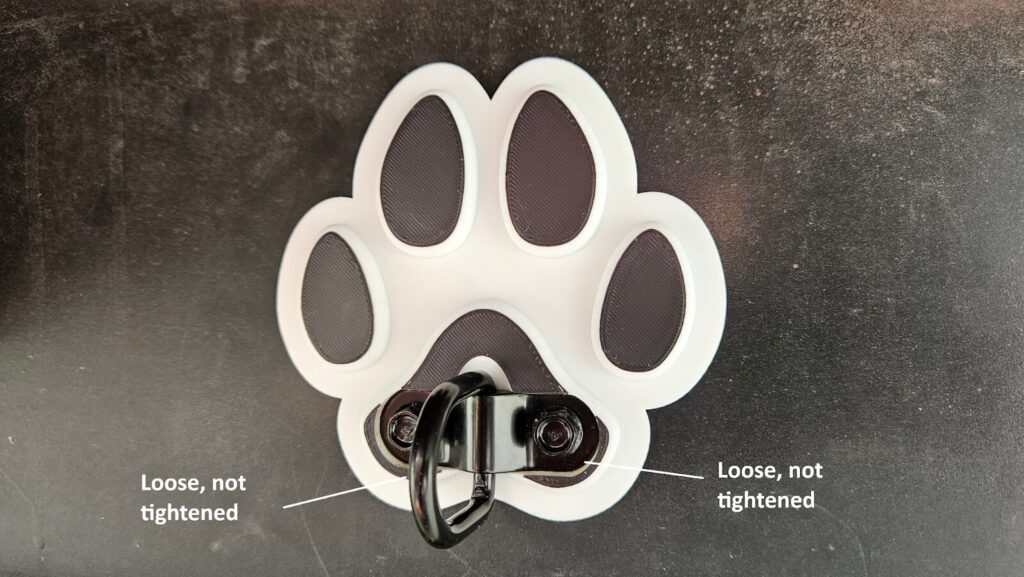
Step 3 – install 2nd screw
Insert 2nd screw. The First screw should be loosely placed and not tightened all the way, allowing you to rotate the paw print as needed to make it level. Do not fully secure with a drill; use a hand tool to tighten.

Do not fully secure with a drill; use a hand tool to tighten.
Step 4 – Tighten with a hand tool
With a hand tool, tighten screws. Tighten to 10-ft lbs torque or until you cannot turn while holding the hand tool at the top portion of the handle.

Step 5 – Complete
